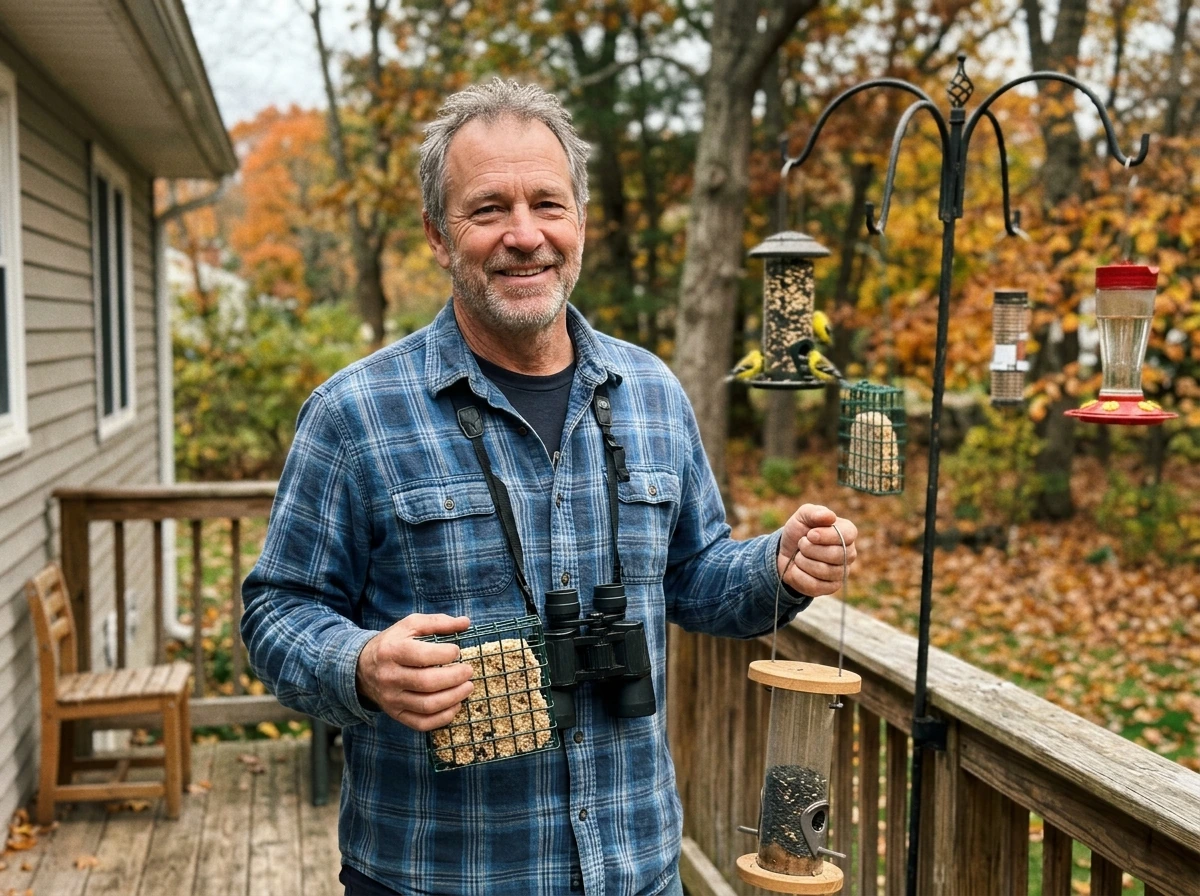
The best bird feeder plan for a beginner is a simple tray or platform feeder. It takes less than an afternoon to build, requires only basic tools, attracts a wide range of backyard birds, and is easy to clean and maintain. If you want something with a little more weather protection for the seed, a hopper feeder is the next step up, and it is still very manageable for a first build. Here is how to pick the right design, cut your materials, put it together, and avoid the mistakes that trip up most first-timers.
Bird Feeder Plans for Beginners: Simple Build and Setup
Marcus Hendricks
20 Mar 2026

Which feeder design is actually best for beginners
There are three main feeder types worth knowing about: platform/tray feeders, hopper feeders, and tube feeders. Each one attracts different birds and involves different build complexity. For a first project, the platform feeder wins on almost every count.
| Feeder Type | Build Difficulty | Birds Attracted | Weather Protection | Best For |
|---|---|---|---|---|
| Platform / Tray | Very easy | Cardinals, jays, sparrows, doves, ground feeders | Low (open design) | First-time builders |
| Hopper / House | Moderate | Cardinals, jays, finches, chickadees, grackles, red-winged blackbirds | Good (walls and roof protect seed) | Second build or confident beginners |
| Tube Feeder | Moderate to hard | Chickadees, finches, small songbirds | Good (enclosed cylinder) | More advanced DIY or just buy one |
Platform feeders are essentially a flat raised surface where you spread seed. No complicated joinery, no special cuts, no fussy assembly. They attract ground-feeding birds that would otherwise eat off the dirt, and they are compatible with almost any seed type. The trade-off is that rain can get into the seed, so you will want drainage holes in the floor and you will need to refresh seed more often after wet weather. Hopper feeders have walls and a roof that keep seed drier, and they pull in a broader mix of birds including larger species like cardinals and jays. But they have more pieces to cut and fit together, which is why I recommend saving that build for once you have done the platform version first.
The beginner platform feeder plan (with exact measurements)

This is a simple, open tray feeder on a post or hung by rope. It is based on the kind of straightforward cut list you will find in plans from sources like Ana White and Lowe's DIY guides. The whole thing can be built with one cedar board and a few basic supplies.
Materials you will need
- One cedar fence picket or cedar 1x6 board (cedar resists rot and is safe for birds; avoid pressure-treated wood)
- 1-inch galvanized or stainless wood screws (rust-resistant so they hold up outside)
- Exterior wood glue (optional but adds strength at the corners)
- Sandpaper (medium grit, around 120)
- Rope, chain, or a screw hook if you want to hang it
- A drill with a 1/4-inch drill bit for drainage holes
Cut list
| Piece | Dimensions | Quantity | Notes |
|---|---|---|---|
| Base / floor | 12 inches x 12 inches | 1 | Main tray surface; add 4 to 6 drainage holes |
| Side rails | 12 inches x 1.5 inches | 2 | Low lip to keep seed from spilling |
| End rails | 9 inches x 1.5 inches | 2 | Short ends; fits inside the side rails |
| Hanging dowel or rope holes | Drill through corners | 4 | For rope hanging; skip if post-mounting |
The finished tray comes out to roughly 12 inches square with a low 1.5-inch lip around the edge. That is big enough to hold a good spread of seed without being awkward to lift and clean. You can scale it up to 16 x 16 inches if you want to attract more birds at once, but the 12-inch version is the easiest to handle.
Tools you will actually need
- A handsaw or circular saw to cut the cedar board
- A power drill or hand screwdriver
- Measuring tape and a pencil
- Clamps (helpful but not essential)
How to put it together
- Cut your pieces according to the cut list above. If you do not have a saw at home, most hardware stores will make cuts for you for free or a small fee.
- Sand all edges smooth. Birds land on this thing barefoot, so sharp splinters are a real problem.
- Drill 4 to 6 evenly spaced quarter-inch holes in the base for drainage. Rain will get in, and you want it to drain out quickly.
- Attach the side rails to the base using two screws per rail. Pre-drill to avoid splitting the cedar.
- Attach the end rails the same way, fitting them inside the side rails at each short end.
- If hanging, drill one hole through each corner of the base near the rail joins, thread rope through, and tie knots underneath.
- If post-mounting, attach a center bracket or simply screw through the base into a 4x4 post from below.
Do not paint or stain the inside of the tray. The seed sits directly on that surface, and birds will be eating there. Leaving the wood natural is fine. If you want to protect the outside edges, a natural linseed oil finish works without harming birds.
Where to hang or mount it (this matters more than most people realize)
Height and window distance are the two placement decisions that most beginners skip over, and they are both important for keeping birds safe.
Hang or mount the feeder at least 5 feet off the ground. That height puts it out of easy reach for cats and reduces the risk of ground predators. For a post-mount setup, a 4x4 post sunk about 2 feet into the ground gives you a stable 5-foot feeding height above grade.
Window distance is the other thing to get right. Birds that take off from a feeder and immediately hit a window can seriously hurt themselves. The safe zones are: within 3 feet of a window (so there is not enough space to build up speed before impact) or more than 30 feet away (so they have plenty of room to fly clear of the house). The danger zone is roughly 4 to 30 feet from glass. If your only spot is in that range, apply window decals or tape to break up the reflection.
What seed to put in it
For a platform feeder that you want to attract the broadest range of common backyard birds, black oil sunflower seeds are the best starting point. They have thinner shells than striped sunflower seeds, so smaller birds can crack them easily, and a huge range of species likes them. Scatter a mix of black oil sunflower seeds with some white millet on the tray and you will cover most of the birds that visit platform and ground feeders. Avoid cheap mixed seed blends that are mostly milo or wheat filler. Most backyard songbirds ignore that stuff and it just piles up and rots.
Keeping it clean (the part most people put off too long)

Clean the feeder about once every two weeks. That schedule sounds more frequent than people expect, but feeders accumulate bacteria and mold quickly, especially in wet weather, and sick birds spread disease to healthy ones at shared feeding stations.
The easiest cleaning method for a simple tray feeder is a soak in diluted bleach solution: 1 part bleach to 9 parts water. Let it soak for 10 minutes, scrub any gunk off with a stiff brush, rinse it very thoroughly, and then let it air dry completely before adding seed again. Full drying is important because moisture left in the wood encourages mold growth in the next batch of seed. If you prefer not to use bleach, hot soapy water works for routine cleaning, but the bleach soak is better for a deeper disinfection every month or so.
Also clean up spilled seed on the ground below the feeder at least once or twice a season. Wet, rotting seed on the ground attracts rodents and can harbor disease. A quick rake or scoop keeps things tidy and reduces problems.
The most common beginner mistakes (and how to avoid them)
Using the wrong wood is the most common one. Pressure-treated lumber is widely available and seems practical, but it contains chemicals that can harm birds. Stick with cedar, redwood, or untreated pine. Cedar is the best choice because it is naturally rot-resistant and weathers well without any finish.
Skipping drainage holes is another one that shows up a lot. A flat-bottomed tray with no drainage turns into a puddle after rain, and wet seed molds within a day or two. Four to six quarter-inch holes in the floor of the tray fix this completely.
Placing the feeder in the danger zone near windows is something most people do not think about at all when they first set up a feeder. Before you commit to a spot, measure the distance to the nearest window and aim for under 3 feet or over 30 feet.
Overfilling the tray is also worth watching. Fresh seed spread in a thin layer gets eaten quickly and stays cleaner. A deep pile of seed sitting in the tray for a week is more likely to go moldy, especially at the bottom of the pile where you cannot see it. Refill more often with less seed rather than loading it up and walking away.
When you are ready for the next build
Once you have your platform feeder up and running and you are comfortable with the basic process, a hopper feeder is a satisfying next project. If you want help choosing a model before you build, these bird feeder recommendations can point you to the right type and size. If you’d like ideas beyond one basic plan, these bird feeder examples can help you compare styles and pick what fits your yard. The house-style design with walls and a peaked roof keeps seed much drier than an open tray, and it attracts species like cardinals, blue jays, chickadees, finches, and even red-winged blackbirds that might not visit a simple platform. Project FeederWatch notes that black-oil sunflower is a favorite feeder food of cardinals, chickadees, finches, and sparrows Food Types. You can also make a great bird feeder out of waste materials, so it’s worth exploring that option if you want a more eco-friendly build bird feeder best out of waste. The build involves more pieces and some basic roof angles, but everything you learned from cutting, drilling, and assembling the tray feeder transfers directly. Adding a tube feeder nearby is also a good move if you want to specifically target smaller birds like finches and chickadees, though tube feeders are generally easier to buy than to build from scratch.
Start simple, get the platform feeder up this weekend, and you will have birds visiting within a few days. Once you see what species show up regularly, you will have a much better sense of what to build next.
FAQ
What size seed opening should I aim for on a beginner tray feeder?
On the 12 x 12-inch platform plan, use the full open surface, but avoid piled “walls” of seed. A shallow spread (just enough to cover the tray bottom) helps birds feed quickly and reduces wet clumps that can go rancid.
How do I stop squirrels or bigger birds from emptying the feeder fast?
Start with placement and access control. Mount the feeder at least 5 to 6 feet high and keep it away from fences or tree limbs. If squirrels still win, add a simple baffle under the hanging point (even a smooth metal cone or commercially sold baffle) so they cannot climb down.
Is cedar really necessary, or can I use another wood I have?
Cedar is a beginner-friendly choice because it resists rot, but any untreated, exterior-safe hardwood or softwood can work if it stays weather-protected. Avoid pressure-treated wood (it can leach chemicals) and avoid raw pine unless you accept faster wear, especially for the underside.
Should I use drainage holes only, or also raise the feeder off the ground?
Do both if you can. Drainage holes handle standing rain, but raising the feeder slightly (or mounting it well off the ground) prevents puddles from collecting underneath and keeps seed from staying damp when it lands and gets splashed.
What’s the best seed to start with for a platform feeder?
If you want the highest chance of mixed visitors, use black oil sunflower seed. It attracts many common backyard species and reduces waste because it is easy for a range of birds to crack.
How often should I refill after rain or snow?
After heavy rain, replace the seed rather than just topping it up. Wet seed breaks down faster and can mold; a quick scoop-and-rinse of the tray (then new dry seed) usually brings bird activity back sooner.
Will drainage holes bring in ants or other insects?
A few holes are fine, insects still happen. To reduce ant traffic, keep the mounting area clean, and avoid letting spilled seed build up under the feeder. If ants become persistent, place the feeder so the spill area is not directly against walls or plant beds.
How should I clean my DIY tray feeder without damaging the wood?
After you remove leftover seed, scrub with hot water and a bird-safe soap, then fully dry. If you use diluted bleach, rinse extremely well and let the feeder dry completely before refilling, because trapped moisture can accelerate mold in seed.
Do I need perches on a beginner platform feeder?
Not for your first build. Platform feeders work without perches because many species feed from the ground surface. If you later add a small dowel, keep it low and stable so it does not tip under bird weight.
What bird behavior tells me the feeder is too small or placed wrong?
If birds keep hovering without landing, or seed piles get constantly kicked into one corner, placement is likely the issue. Try relocating closer to cover (but still safely away from windows), and consider increasing tray size only after you confirm it is a location problem, not a seed or hygiene problem.
How can I reduce window-collision risk when I mount it near a house?
Use spacing as your main safety lever. Place the feeder within about 3 feet of the nearest window, or move it more than 30 feet away, and if you cannot do either, add a visual deterrent strategy (like window decals or netting) so birds do not treat the glass as open space.
Can I put the feeder under eaves or a roof overhang?
Yes, and it helps keep seed drier, but keep airflow in mind. Do not enclose it so tightly that it becomes a damp box in winter. Aim for protection from direct rain while still allowing the tray to dry between storms.
What’s the most common mistake that causes a beginner feeder to fail quickly?
Skipping sanding and pre-drilling. Rough edges can injure birds, and splitting cedar ruins the joints. Take an extra 5 minutes to smooth all landing surfaces and drill pilot holes before driving screws.
Next Article
Bird Feeders for Beginners: Types, Placement, and First Setup
Practical beginner guide to bird feeders: types, best feeder choice, placement safety rules, and first setup steps.
