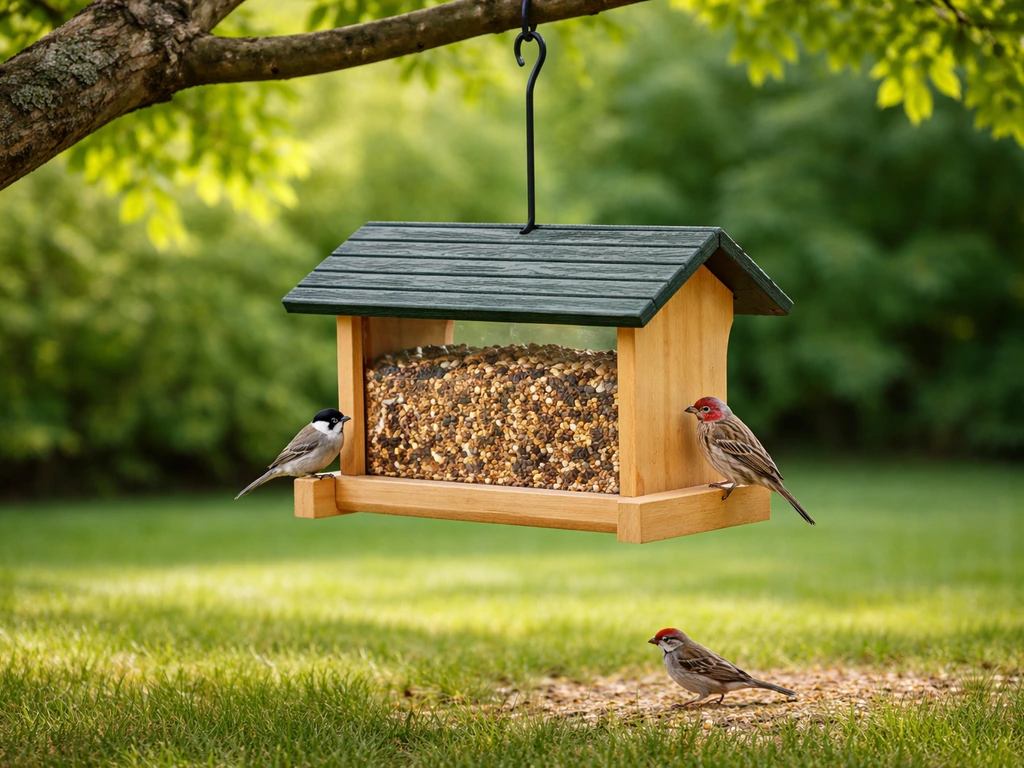
The best bird feeder out of waste is one you actually build and put up. A clean 1-liter soda bottle fitted with wooden-spoon perches and an eye-screw hanger costs almost nothing, takes under an hour, and will attract house finches, chickadees, and sparrows the same day. But the phrase 'bird feeder best out of waste' actually pulls in two very different kinds of searchers: people who want to upcycle household junk into feeders, and people who want feeders that produce zero seed waste in the yard. Both goals are worth pursuing, and this guide covers both from the ground up, definitions, species matching, design principles, a shortlist of the best designs, a head-to-head comparison with store-bought feeders, and a full step-by-step build plan for the easiest beginner project: the mason-jar tube feeder.
Bird Feeder Best Out of Waste: Upcycled, No‑Waste DIY Plans
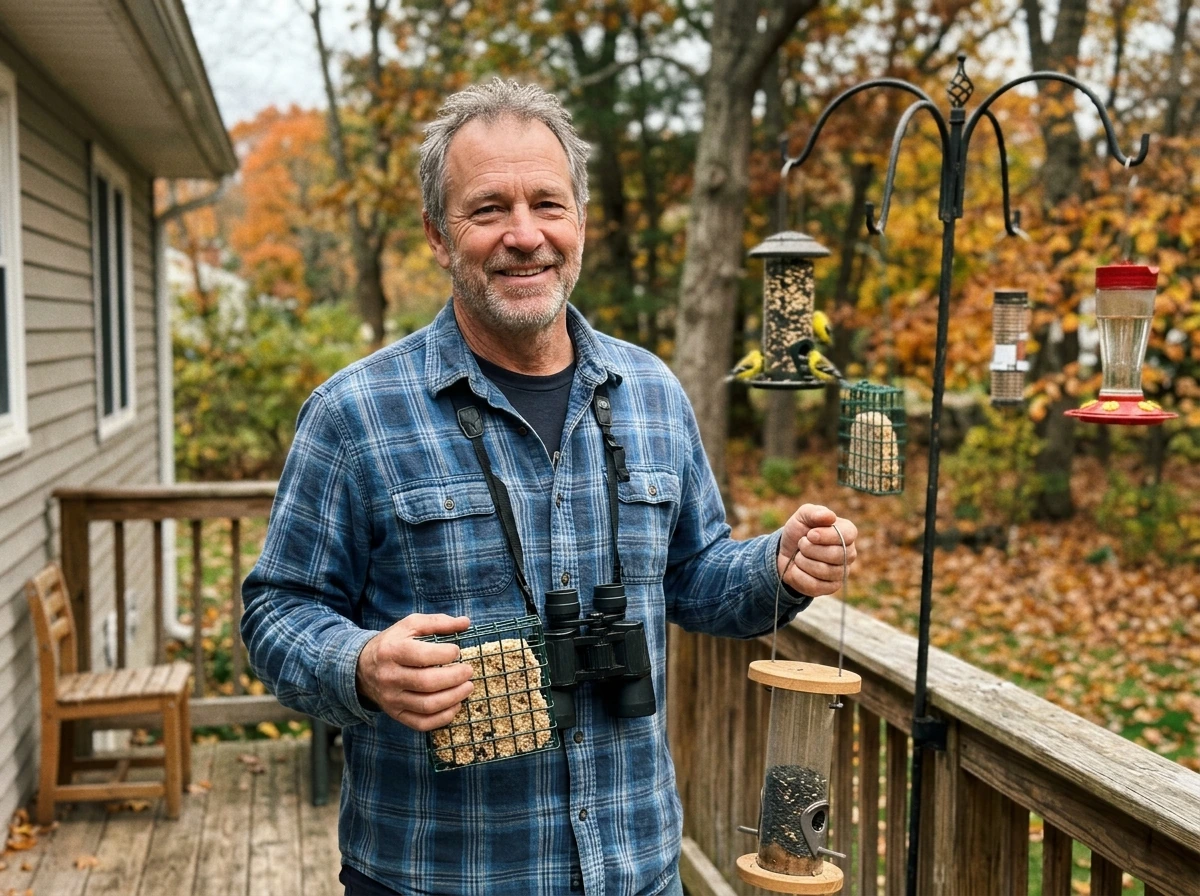
Two very different things people mean by this search
When someone types 'bird feeder best out of waste,' they usually mean one of two things, and it matters because the solutions are completely different.
The first meaning is upcycled feeders: feeders built from discarded or repurposed household materials, empty soda bottles, glass mason jars, rinsed milk cartons, salvaged wood planks. Upcycling is defined by materials provenance. You are taking something headed for the trash and giving it a second useful life. Conservation programs like NOAA's Marine Debris project and university extension offices (Ohio State, Virginia Tech) have published exactly these plans as sustainability activities for families, classrooms, and backyard birders. The appeal is low or zero material cost, reduced waste, and a hands-on project.
The second meaning is no-waste or no-spill feeders: feeders engineered to minimize how much seed ends up on the ground rather than in a bird. This is a design-intent category. These feeders use precision-sized ports, gravity-fed hoppers, enclosed dispensers, and drainage geometries to restrict how much seed a bird can scatter with its bill. They are not necessarily made from recycled materials, many are store-bought polycarbonate or powder-coated steel. The 'waste' they eliminate is wasted seed, which also means less sprouting, less rodent attraction, and lower long-term feeding cost.
| Category | Defined by | Primary benefit | Best for |
|---|---|---|---|
| Upcycled / out-of-waste feeders | Materials origin (repurposed household items) | Near-zero upfront cost, sustainability, DIY satisfaction | Beginners, crafters, sustainability-focused birders |
| No-waste / no-spill feeders | Functional design (ports, hoppers, enclosed dispensers) | Reduced ground litter, lower ongoing seed cost, pest control | Birders fighting squirrels, rodents, or sprouting seed problems |
The good news: these goals can overlap. A mason-jar feeder with small drilled ports is both upcycled and relatively low-spill. A pallet-wood hopper with a close-tolerance seed tray is upcycled and waste-conscious. But when you have to prioritize, knowing which goal matters more will save you time.
Which birds and seeds suit each feeder design
Matching feeder style to target species is the single most important thing you can do to actually attract birds. Cornell Lab's All About Birds guidance is clear: offering multiple feeder types with different foods attracts far more species than a single feeder loaded with cheap mixed seed. Here is how the most common upcycled and no-waste designs map to birds and seeds.
Tube and bottle feeders (upcycled or precision-port)
Tube-style feeders, whether made from a soda bottle, mason jar, or store-bought polycarbonate tube, are the most versatile beginner design. Small ports (3/16" to 5/16" diameter) loaded with nyjer (thistle) seed are ideal for American goldfinches, pine siskins, and common redpolls. Slightly larger ports (3/8" to 1/2") with black-oil sunflower attract chickadees, house finches, nuthatches, and tufted titmice. Black-oil sunflower is the single best all-around seed: it has roughly 30-38% crude fat, a thin hull most small birds can crack, and attracts the widest variety of seed-eating backyard species according to Cornell's seed guide.
Hopper and platform feeders (upcycled wood or carton)
A milk-carton feeder or a simple pallet-wood hopper acts as a platform or hopper. These designs attract ground-feeding and larger-bodied birds: Northern cardinals, mourning doves, blue jays, dark-eyed juncos, and white-throated sparrows. Load them with black-oil sunflower, safflower, or a mix of the two. Safflower seed (about 38% crude fat when hulled) is worth knowing about: cardinals and nuthatches take it readily, while house sparrows and squirrels largely ignore it, which makes it a useful tool for reducing bully-bird and pest pressure.
Suet feeders (upcycled mesh or wire)
A DIY suet cage made from hardware cloth or a repurposed onion mesh bag is the best feeder for woodpeckers (downy, hairy, red-bellied), white-breasted nuthatches, brown creepers, and Carolina wrens. Suet is especially valuable in winter when high-fat food is critical for cold-weather energy. Do not use suet in summer heat above 90°F, it goes rancid quickly and can mat feathers.
| Feeder design | Target species | Best seed/food | Port or tray size |
|---|---|---|---|
| Bottle / mason-jar tube | Goldfinches, chickadees, house finches, nuthatches | Nyjer or black-oil sunflower | 3/16" (nyjer) to 1/2" (sunflower) |
| Milk-carton / wood platform | Cardinals, doves, jays, juncos, sparrows | Black-oil sunflower, safflower, millet | Open tray, 1/4" drainage holes |
| Upcycled suet cage (hardware cloth) | Woodpeckers, nuthatches, wrens, creepers | Suet cake or homemade suet | 1" x 1" wire grid |
| Peanut-butter jar feeder | Woodpeckers, chickadees, nuthatches | Peanut butter smeared on surface or in holes | 1/2" to 1" holes in wood insert |
| No-spill precision tube (store-bought) | Finches, chickadees, titmice | Nyjer or black-oil sunflower | Manufacturer-sized ports (typically 3/16"–3/8") |
Design principles that actually reduce waste and keep birds safe
Whether you are building from a bottle or buying a commercial feeder, these principles separate feeders that work from feeders that create problems.
Seed spill control
The main mechanism behind low-spill feeders is port geometry. When a bird has to reach into a small hole and extract one seed at a time, it cannot rake seed out onto the ground the way it can on an open tray. Gravity-fed tubes and hoppers with ports sized just larger than the target seed diameter (about 5/16" for sunflower, 3/16" for nyjer) reduce seed loss per visit significantly compared to open platforms. If you are building a bottle or jar feeder, drill your ports carefully, ragged or oversized holes are the single biggest cause of spillage in DIY feeders.
Perch design
Short perches (1.5" to 2" long) discourage larger bully birds like grackles and starlings, which need a longer landing platform to grip and feed comfortably. Clinging species like chickadees and nuthatches do not need perches at all, they can feed from a port with no perch. For goldfinches, you can position perches above the ports (an 'upside-down' feeder design) since goldfinches will hang inverted but most nuisance species will not.
Seed flow control
Gravity-fed flow works well when the seed reservoir stays dry. Wet seed clumps and blocks ports. Build at least a 1" roof overhang over any open port, drill 1/8" drainage holes in the bottom of any tray or platform, and angle the seed chamber very slightly (5-10 degrees) toward the ports so seed flows down rather than bridging. In humid climates or during wet winters, check and clear ports weekly.
Bird safety: what to avoid
Never paint the inside of a feeder or any surface that seed contacts. Many paints contain zinc, lead, or biocide additives that are toxic to birds. If you want to weatherproof exterior wood surfaces, use food-safe linseed oil or a water-based exterior wood stain applied only to outer surfaces after the build is complete and fully dry. Avoid galvanized wire mesh on suet feeders, the zinc coating can be harmful with long exposure; use coated hardware cloth or stainless steel instead. Sharp edges from cut plastic bottles or cartons should be sanded or folded over to prevent injury to birds and to your hands during cleaning.
Top upcycled and no-waste feeder designs: a quick shortlist
These are the designs I have personally built or tested and would recommend without hesitation. For more bird feeder recommendations, see the detailed shortlist and buying notes later in this guide. They range from a 15-minute carton project to a more considered mason-jar build covered in full detail later in this article.
| Design | Materials | Build time | Spill level | Species fit | Main limitation |
|---|---|---|---|---|---|
| Mason-jar tube feeder | Quart mason jar, perforated lid or drilled metal lid, wooden base/dowels, eye-screw | 30–60 min | Low (controlled ports) | Chickadees, finches, nuthatches | Jar can crack in hard freezes if left full |
| 1-L soda bottle perch feeder (OSU plan) | 1-L bottle, 2 wooden spoons, eye-screw, twine | ~45 min | Medium (open holes) | Finches, sparrows, chickadees | Plastic degrades in UV over 1–2 seasons |
| Milk-carton platform feeder | Half-gallon carton, twine, craft knife | 15–30 min | High (open tray) | Cardinals, doves, juncos | Cardboard absorbs moisture; replace seasonally |
| Pallet-wood hopper feeder | Scrap 1x6 boards, mesh screen, wood screws, eye-bolt | 2–4 hours | Low (hopper with tray lip) | Cardinals, jays, doves, sparrows | Requires basic woodworking; heavier to hang |
| Hardware-cloth suet cage | Hardware cloth (1" grid), pliers, wire or zip ties | 20–30 min | N/A (solid suet) | Woodpeckers, nuthatches, wrens | Wire edges need taping; replace cloth annually |
| No-spill precision tube (store-bought) | Polycarbonate or metal tube with factory-sized ports | 0 (assembly only) | Very low | Finches, chickadees, titmice | Cost $20–$60; not upcycled |
DIY upcycled vs. store-bought: how to choose
There is no universally right answer here, it depends on your time, tools, and what you actually want from the experience. I have used both for years, and each has a genuine place in my yard.
| Factor | DIY upcycled feeder | Store-bought feeder |
|---|---|---|
| Upfront cost | $0–$10 (materials mostly from waste) | $15–$80+ depending on type and features |
| Build time | 15 min (carton) to 4 hours (wood hopper) | 0–30 min (assembly only) |
| Durability | Low–medium; plastics degrade in UV, cardboard is seasonal | Medium–high; polycarbonate, powder-coated metal last 5–10+ years |
| Seed waste | Medium–high (open designs) to low (jar/bottle with small ports) | Low–very low (precision-engineered ports and hoppers) |
| Pest resistance | Low without add-ons (squirrels can chew plastic/wood) | Medium–high (baffle-compatible, metal cages available) |
| Ease of cleaning | Easy to moderate (jars and bottles fully disassemble) | Easy–moderate; some commercial designs have hard-to-reach corners |
| Bird attractiveness | Comparable once birds find it; location matters more than aesthetics | Comparable; birds care about food and safety, not packaging |
| Environmental impact | Lower (diverts waste) | Moderate (new materials, but longer lifespan offsets some impact) |
| Customization | Full control over port size, species targeting | Limited to manufacturer design choices |
Decision checklist
Use this to quickly decide which direction makes sense for your situation right now.
- Choose DIY upcycled if: you have household materials on hand, want a low-cost starter project, are comfortable with basic tools, or enjoy the craft aspect
- Choose store-bought if: you want guaranteed port precision, need squirrel/pest baffles, plan to feed through harsh winters, or want a feeder that lasts a decade without rebuilding
- Choose DIY upcycled if: you are introducing children or new birders to the hobby — the build itself is part of the experience
- Choose store-bought if: you have had persistent rodent or sparrow problems — commercial no-spill and rat-proof designs (with weight-sensitive perches or enclosed hoppers) are engineered for this in ways a bottle feeder cannot match
- Consider both: a DIY carton or bottle feeder to start immediately while you research and invest in one quality store-bought feeder for your primary seed station
If you are just getting started and want broader guidance on feeder types before committing to a build or purchase, the bird feeders for beginners and bird feeder recommendations content on this site goes deeper into type-by-type comparisons and what to expect in your first season.
Beginner-friendly plans: what you need to know before you start
Most upcycled feeder projects require only basic tools and no special skills. Here is an honest picture of what is involved across the three most beginner-accessible designs.
Tools you will realistically need
- Utility knife or craft scissors (for carton and plastic bottle projects)
- Hand drill with 3/16", 1/4", and 1/2" bits (for mason jar lid and wood projects)
- Sandpaper, 80-grit and 150-grit (smoothing cut edges on plastic, wood)
- Pliers (bending hardware cloth for suet cage)
- Eye-screws and twine or jute rope (hanging hardware for all designs)
- Measuring tape and permanent marker
Safety notes
- Wear cut-resistant gloves when working with hardware cloth — the cut edges are sharp
- Drill plastic bottles slowly to avoid cracking; use a sharp bit and steady pressure
- Sand all cut edges on plastic bottles and cartons before installation
- Do not use painted or chemically treated wood scraps for the seed-contact surfaces inside feeders
- Keep small pieces (screws, wire offcuts) away from children during builds
Realistic time and cost ranges
| Project | Build time | Material cost (if sourced new) | Material cost (from waste/on hand) |
|---|---|---|---|
| Milk-carton platform feeder | 15–30 min | $1–$3 (twine only) | $0 |
| 1-L soda bottle perch feeder (OSU plan) | ~45 min | $3–$5 (dowels, eye-screw, twine) | $0–$2 |
| Mason-jar tube feeder | 30–60 min | $8–$15 (jar if needed, lid, dowels, base board) | $2–$5 if jar is on hand |
| Pallet-wood hopper feeder | 2–4 hours | $10–$20 (screws, mesh, hardware) | $5–$10 if wood is salvaged |
For more detailed plans with measured diagrams beyond what this article covers, the bird feeder plans for beginners and bird feeder examples sections of this site include additional illustrated projects with cut lists and assembly diagrams.
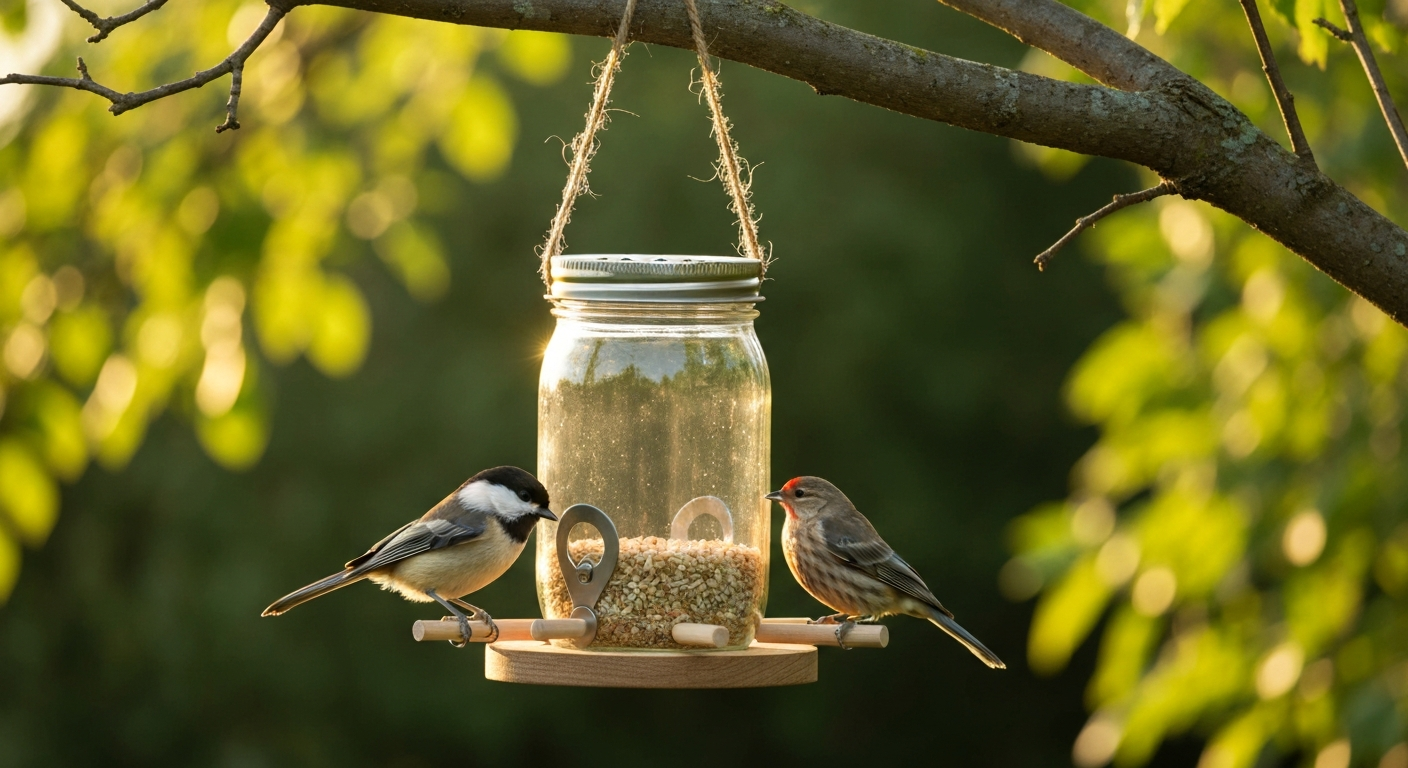
Full build: mason-jar tube feeder (upcycled glass)
This is my favourite beginner project because it uses a jar most people already own, produces a genuinely low-spill feeder with controlled ports, and cleans up perfectly, you can drop the jar in the dishwasher. For more step-by-step instructions and other simple projects, see our roundup of bird feeder plans for beginners. It takes 30-60 minutes and costs almost nothing if you have mason jars in a kitchen drawer.
Materials and tools list
- 1 wide-mouth quart (32 oz) mason jar with a two-piece metal lid (band + flat lid), clean and dry
- 1 piece of untreated pine or cedar board, approximately 6" x 6" x 3/4" thick (the base/perch platform)
- 2 wooden dowels, 5/16" diameter x 4" long (perches; wooden chopsticks or pencils work too)
- 1 eye-screw, 1/4" opening, 1" shank (for hanging)
- Approximately 24" of jute twine, paracord, or wire (hanger)
- Hand drill with 5/16" bit (for seed ports in the metal lid) and 5/16" bit (for perch holes in the board)
- Hammer and a 16-penny nail or center punch (to start holes in the metal lid)
- Sandpaper, 150-grit
- Permanent marker and ruler
Measurements and diagram notes
The flat metal lid sits inverted (inside facing up) to form the seed dispenser surface. Mark 4 seed ports evenly spaced around the lid at a radius of about 1" from center, these should be 5/16" diameter for black-oil sunflower or 3/16" for nyjer. On the 6" x 6" base board, mark two perch holes centered at 1.5" from each side edge, 3" apart, each 5/16" in diameter to accept the dowels snugly. Mark the eye-screw position dead center on the base board's underside (it will screw up through the board and clamp the jar lid between the base and the band). Diagram suggestion: a top-down view of the lid with port positions marked, plus a cross-section side view showing jar inverted over the base board with the lid sandwiched and the dowel perches extending outward.
Step-by-step build plan
- Clean and thoroughly dry the mason jar. Any moisture inside will cause seed to mold quickly.
- Place the flat metal lid face-down on a scrap of wood. Use the hammer and nail (or center punch) to dimple each of the 4 port positions — this prevents the drill bit from skating across the metal.
- Drill the 4 seed ports with the 5/16" bit (or 3/16" for nyjer). Burrs on the metal edges should be smoothed with sandpaper or a file — raw metal edges can cut bird tongues.
- Drill the 2 perch holes in the 6" x 6" base board at the marked positions. Sand the board smooth, paying attention to any rough edges on the top surface.
- Test-fit the dowel perches into the base holes — they should be snug but not require forcing. If loose, a dab of wood glue will secure them. Let glue dry completely before proceeding.
- Screw the eye-screw into the center of the base board's underside, threading it upward until the eye ring sits flush with the bottom face of the board.
- Fill the mason jar with seed to about 1" from the top. Do not overfill — you need space for the lid to seal without forcing seed out.
- Place the drilled flat lid (ports facing down, toward the seed) onto the jar mouth, then thread the band over it and tighten firmly. This creates your precision-port dispenser.
- Invert the jar so the lid and base board will be on top. Position the lid over the base board so the lid is centered. Thread the eye-screw shank through the center of the lid from below (the board sits below the lid, the jar points upward). Tighten the band to clamp the lid to the board — the board and jar lid are now sandwiched together.
- Thread your twine or wire through the eye-screw ring to create a hanger of your preferred length. Use a secure knot or loop — the filled jar weighs approximately 2–3 lbs.
- Hang the feeder at head height (about 5–6 feet from the ground) on a branch, shepherd's hook, or under a roof eave with at least 10 feet of clearance from nearby structures to reduce squirrel jumping access.
Cost and time estimate
If the mason jar and scrap board are already on hand, this build costs $2-$5 in hardware (eye-screw, dowels, twine). If you need to buy the jar new, add $3-$6. Total build time including drying time for wood glue is 30-60 minutes of active work. The feeder itself, if kept clean and brought in during hard freezes, can last several years, glass and metal have indefinite outdoor lifespans compared to plastic.
Species fit and seed recommendations
With 5/16" ports and black-oil sunflower: chickadees, house finches, purple finches, white-breasted nuthatches, tufted titmice, and the occasional downy woodpecker. With 3/16" ports and nyjer: American goldfinches, pine siskins, and common redpolls. Do not use shelled peanuts in this feeder, they are too large for the ports and will block quickly. Hulled sunflower (chips) works well and produces zero hull debris under the feeder, which is useful for keeping the area tidy.
Maintenance schedule
- Every 1–2 weeks (or sooner if seed appears clumped or discolored): empty the jar completely, wash with warm soapy water, then disinfect with a 10% bleach solution (1 part household bleach to 9 parts water). Soak for 10–15 minutes, rinse thoroughly, and air-dry completely before refilling. This protocol is the CDC-recommended standard for feeder hygiene following the 2021 songbird Salmonella outbreak guidance.
- Monthly: check the metal lid for rust or corrosion at the port edges. Replace the flat lid (they cost about $0.25 each) if significant rust appears.
- Seasonally (fall): bring the feeder in and inspect the base board for cracks or soft spots from moisture. Re-treat with linseed oil if needed.
- Winter: in climates with hard freezes, bring the jar in overnight or keep it partially filled — a full jar of wet seed can crack glass as it expands. In extended below-freezing weather, a plastic bottle feeder is more practical than glass.
Troubleshooting tips for the mason-jar feeder
| Problem | Likely cause | Fix |
|---|---|---|
| Seed not flowing through ports | Seed clumped from moisture, or ports drilled too small | Empty and dry the jar; use dry seed only; re-drill ports 1/32" larger if needed |
| Seed pouring out too fast | Ports too large or jar tilting | Replace the lid with newly drilled smaller ports; adjust hanger to keep jar vertical |
| Mold inside the jar | Rain intrusion through ports or refilling before fully dry | Move to a sheltered location; ensure jar dries completely between refills; add a small roof baffle |
| Squirrels emptying it | Feeder accessible from above or nearby branch | Add a dome squirrel baffle above the hanger point; relocate away from jumping-off points |
| Lid corroding or leaking at band | Prolonged wet exposure to metal band | Apply a thin coat of petroleum jelly to the band threads; inspect and replace lid annually |
| Birds not finding it | Location too exposed or too isolated | Hang near shrubs or trees (within 10 feet) to give birds approach cover; be patient — 1–2 weeks is normal for initial discovery |
Weatherproofing, pest control, and seasonal considerations
Glass and metal (mason-jar feeder) handle rain better than plastic or cardboard, but any feeder needs a covered location or a dome baffle above it to reduce direct rain entry through ports. For plastic bottle feeders, UV degradation is the main enemy, expect to replace them every 1-2 seasons and recycle the old plastic rather than sending it to landfill.
For squirrel and rat management, the most effective combination is a smooth metal pole (not a tree branch hanger) with a pole-mounted squirrel baffle at least 4.5 feet up, with the feeder hanging at least 5 feet from the ground and 10 feet from any structure squirrels can launch from. No DIY upcycled feeder material will stop a determined squirrel on its own, it is the placement and baffling that does the work, not the feeder material. Reducing seed spill is also directly linked to rodent attraction: less seed on the ground means fewer rats. This is where precision-port designs earn their cost.
In winter, prioritize high-fat seed (black-oil sunflower, nyjer, suet) since birds need more calories to maintain body temperature. Heated birdbaths or water features nearby will dramatically increase bird traffic to your feeders in freezing weather. Check feeders daily in snow and ice to clear blocked ports, a frozen port in a tube feeder is a quick way to lose your audience.
If you notice sick or dead birds near your feeders, the CDC and state wildlife agencies recommend taking feeders down immediately, cleaning with the 10% bleach solution described above, and waiting at least two weeks before putting them back up. This directly follows the guidance issued after the 2020-2021 Salmonella songbird outbreak linked to contaminated feeders across multiple states. Open platform feeders are specifically implicated in disease transmission events because they allow fecal accumulation and direct contact between many birds, a strong argument for enclosed-tube or jar-style designs over open trays as your primary feeder.
Common problems and how to fix them
Every feeder, DIY or store-bought, runs into the same handful of issues. Here is what I see most often and what actually works.
- Seed clumping and mold: almost always a moisture problem. Move the feeder under an eave or add a dome roof; switch to a dry, cool-stored seed; clean every 1–2 weeks without exception in humid conditions
- No birds after 2+ weeks: check placement first (too open, no nearby cover), then seed quality (old or mixed seed with filler millet that local birds ignore), then feeder height (too high or too low — 5–6 feet is the sweet spot for most backyard species)
- Seed spilling constantly: ports are too large or the feeder is swinging in wind; drill a replacement lid with smaller ports or add a wind stabilizer to the hanger
- Squirrels dismantling the feeder: add a squirrel baffle; relocate to a freestanding pole; use safflower seed (squirrels largely dislike it) instead of sunflower as a deterrent measure
- House sparrows or starlings dominating: remove or close the feeder for 3–5 days to reset the pattern; switch to nyjer (these species ignore it) or install a short-perch feeder that larger birds cannot grip
- Rust or corrosion on metal lids or wire: inspect seasonally; replace metal components annually; use stainless steel or vinyl-coated wire where possible
FAQ
What are the two distinct intents behind the keyword 'bird feeder best out of waste' and how should an article define them?
Define both intents explicitly: (1) 'Upcycled / out‑of‑waste' feeders — identified by materials provenance (made from discarded household items such as plastic bottles, milk cartons, jars, pallet wood). Emphasize reuse, basic cleaning/prep, and low‑cost construction. Cite examples (NOAA, university extension). (2) 'No‑waste / no‑spill' feeders — identified by functional design features that minimize seed loss and hull scatter (gravity‑fed hoppers, small precision ports, enclosed dispensers, drainage geometry). Explain the operational difference: one is material‑source focused, the other is performance/design focused. Provide metrics or qualitative measures of seed loss and hygiene risk when possible and cite practical/design guidance (extension/birding sources).
Which bird species and seed types are best matched to upcycled and no‑waste feeder designs?
Give species–seed–feeder matches using authoritative guidance (Cornell Lab, extension services): - Black‑oil sunflower — attracts the widest variety (cardinals, chickadees, titmice, nuthatches, jays); suits tube, hopper, small‑port dispensers and many upcycled designs when ports are sized correctly. - Nyjer (thistle) — attracts finches (goldfinch, siskin); requires very small‑mesh or precision ports (nyjer sock or mesh) to prevent waste. - Safflower — good for cardinals and nuthatches, less attractive to some nuisance birds and squirrels. - Suet — for woodpeckers, nuthatches, titmice; requires suet cages or blocks. Note which feeder types work best: tube + nyjer; hopper/platform + black‑oil; suet cages + suet. For upcycled feeders, state species suitability depends on port/perch design: small ports for finches, sheltered feeding ledges for titmice/chickadees. Cite Cornell Lab and university extension guidance.
What exact materials, tools, and measurements must be listed to make reproducible upcycled/no‑waste feeder plans?
Provide precise lists for each plan including: - Materials (source examples and quantities): e.g., 1‑L PET bottle (rinsed), two 6 mm wooden dowels (12 cm length), 3/8" eye‑screw, 1.5 m twine, 2 small washers — or mason jar (16 oz), 1 metal lid, 4 x 6 mm screws, 20 mm wooden base. - Tools: electric drill + bits (3 mm, 6 mm), utility knife, sharp scissors, sandpaper (120 grit), ruler/tape measure, marker, safety goggles, gloves. - Exact measurements and hole positions: mark measurements from base (e.g., drill feed ports 5 cm from bottom, 4 cm apart; perch holes 2 cm below ports; port diameter 6 mm for sunflower, 2 mm or mesh for nyjer). - Quantities of seed capacity (e.g., 1‑L bottle ≈ 250–350 g black‑oil sunflower) and estimated refill frequency based on local bird activity (practical estimate ranges: 3–14 days). Include alternatives for materials commonly found in households. Source existing plans (OSU, NOAA) for validated measurement examples.
What beginner-friendly upcycled/no‑waste feeder projects should be included and what build time/cost should be estimated?
Include 3–5 step‑by‑step projects with realistic time/cost: - Project A: 1‑L Bottle Perch Feeder — Materials: 1‑L bottle, 2 wooden spoons/dowels, eye screw, twine. Time: ~30–60 min. Cost: near $0–$5 (if reusing bottle, low‑cost dowels). - Project B: Milk‑Carton Window Feeder — Materials: rinsed 1‑L milk/juice carton, twine, craft knife, wooden perch. Time: ~15–30 min. Cost: near $0. - Project C: Mason Jar Multi‑Port Feeder — Materials: 16–32 oz mason jar, perforated metal or lid adapter, small wooden base/perch. Time: ~30–60 min. Cost: $5–15 if new mason jar purchased. - Project D (no‑waste focus): Simple Gravity Hopper from Reused Feed Bag + PVC/wood frame — Materials: cut nylon feed bag or stiff plastic bottle array, small outlet ports with lips, 45–90 min, cost $0–$10. For each project include complexity level (easy/medium), bird species fit, and seed suitability. Cite OSU/NOAA plans as validated baseline.
What step‑by‑step build plans and diagram/photo suggestions should the article include to be actionable?
For each project provide numbered construction steps with exact actions and safety notes, plus a simple materials diagram and photo suggestions: - Step numbering: prep (cleaning and drying), measure & mark, cut/drill holes, sand edges, insert perches/ports, assemble hang/cap hardware, test stability, fill with seed, hang at recommended height (1.5–2.5 m preferred for many yards). - Dimensions: give distances from bottom for ports/perches, hole diameters (e.g., 6 mm port for sunflower), perch lengths (8–12 cm), spacing between ports (4–6 cm). - Photo/diagram suggestions: close‑up of port/perch placement, side view with measurements, exploded parts view, finished feeder in situ, detail of hanging hardware and drainage holes. - Safety callouts in each step (wear goggles, cut away from body, sanitize reused containers). Use OSU/NOAA examples for layout style.
What weatherproofing and pest/rodent/squirrel protection measures must be explained?
Cover practical methods and tradeoffs: - Weatherproofing: seal cut edges with sanded paint‑safe trim or silicone; orient ports under a roof or cut a sloping overhang from scrap plastic/wood; include drainage holes (3–4 small holes in base) to prevent standing water; recommend exterior‑grade, bird‑safe finishes only (avoid lead‑based paints). - Pest/squirrel protection: mount feeders on 1.2–1.8 m metal poles with baffles; use weight‑sensitive perches or small port sizes to exclude larger beak/bodies; place feeders 2–4 m from launch points like fences/trees to reduce squirrel access; install squirrel baffles and use safflower or nyjer where appropriate. - Rodent/rat guidance: avoid ground seed piles, use seed catch trays with raised lip or no tray, place feeders at least 2 m from structures that allow rodent access. Cite extension and BetterBirdYard practical designs for limiting seed scatter and rat access.
Bird Feeder Recommendations: Choose, Place, and Fix Fast
Step-by-step bird feeder recommendations: pick the right feeder and seed, place it right, and fix pests and mold fast.