For most Canadian backyard setups, the Birdfy Feeder 2 or Bird Buddy 2 Mini hits the sweet spot of price, cold-weather reliability, and usable AI bird ID. Both work down to around -20°C, connect over standard 2.4GHz Wi-Fi, and deliver sharp enough 2K footage to tell a House Finch from a Purple Finch without squinting. If you're more than 30 metres from your router, or feeding in a rural spot without reliable Wi-Fi, a dedicated trail camera aimed at the feeder is honestly the smarter call and costs less.
Best Bird Feeder Camera in Canada: Top Picks and Setup Guide
Marcus Hendricks
8 Jul 2026
What a feeder camera actually does (and where it falls short)
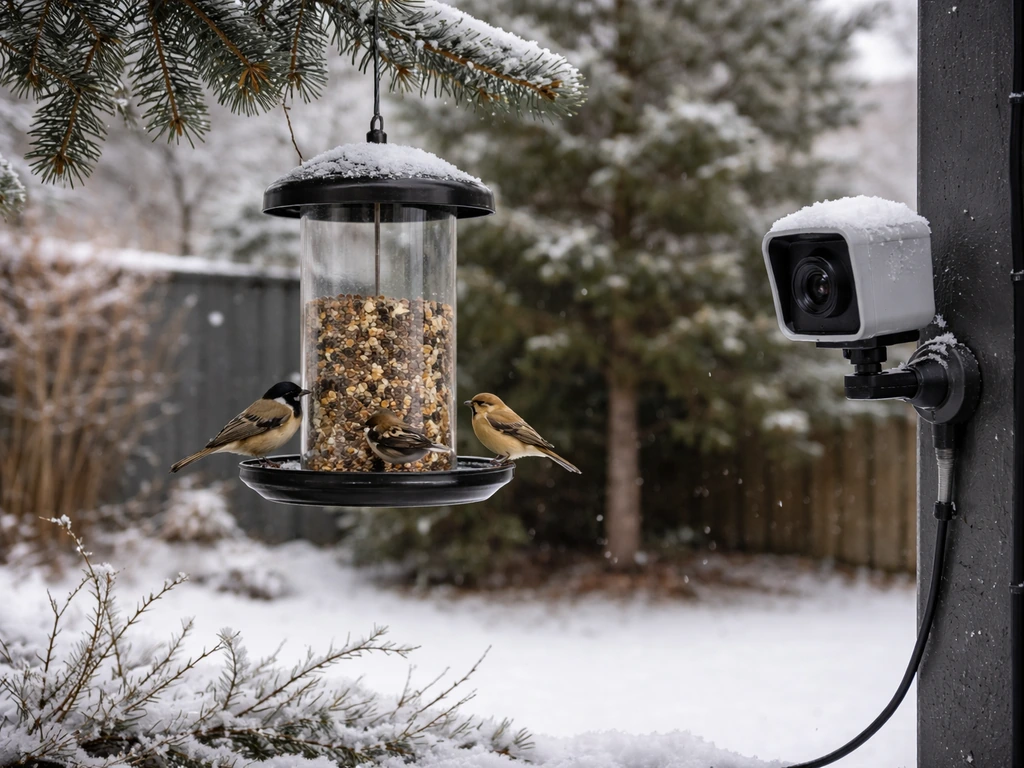
A bird feeder camera is either a camera built into a smart feeder or a standalone camera mounted near an existing feeder. Either way, the job is the same: capture clear images or short video clips of birds that visit, ideally with enough detail to identify the species and sometimes sex. Most of them are motion-activated, meaning the camera sleeps until a bird lands or passes within detection range, then wakes up and records a short clip. Birdfy's default, for example, is a 20-second clip with a 2-minute cooldown between triggers. That's useful for saving storage but it also means a fast-moving bird that arrives and leaves inside 20 seconds might only get caught on one clip.
The better smart feeders add AI bird recognition on top of the video. Birdfy's AI identifies species (and sometimes sex) from captured footage through a subscription service. Bird Buddy's 2026 Mini models go a step further and use both visual and audio cues for detection. FeatherSnap has its own in-app identification workflow. These AI features work well for common backyard species, but they occasionally struggle with juveniles, partially obscured birds, or rare visitors, so treat the ID as a strong suggestion, not a verdict.
What feeder cameras can't do: they won't replace a good pair of binoculars for rare bird confirmation, they don't work well if your feeder is in deep shade all day, and most won't give you usable footage at night unless they have an infrared or low-light sensor. Night IR footage is typically grainy and black-and-white, fine for confirming a raccoon raided your feeder but not great for ID-ing a bird by plumage.
What to look for when buying in Canada
Canadian conditions will stress-test any bird feeder camera in ways that a product spec sheet won't warn you about. Here's what actually matters.
Cold-weather performance
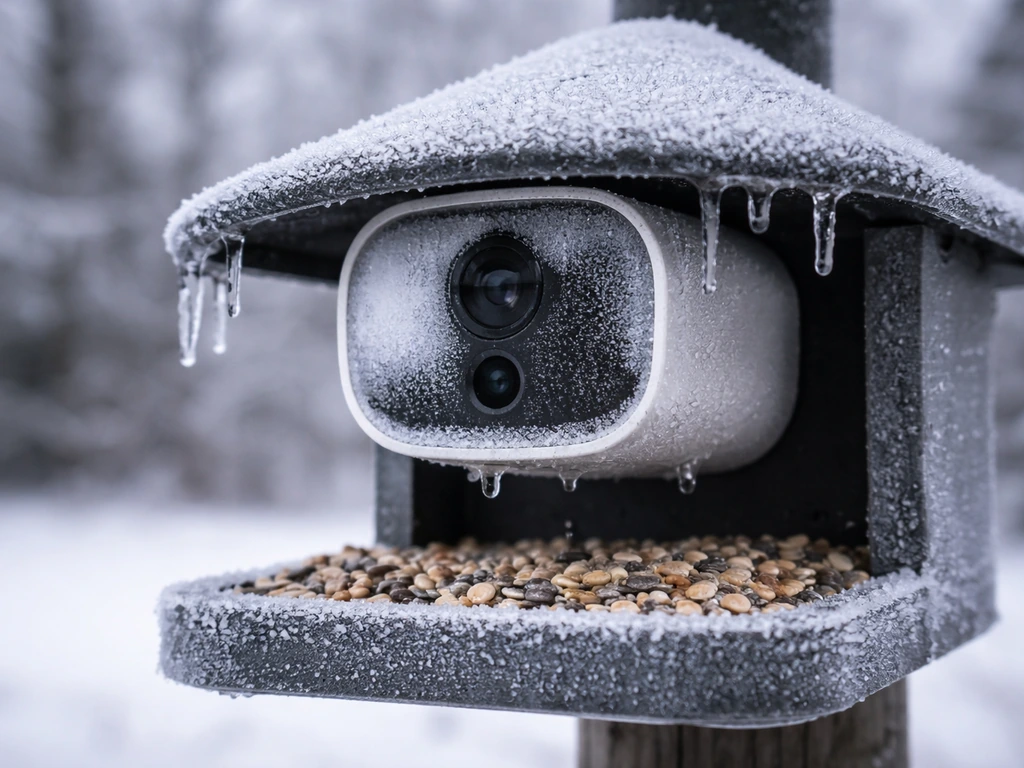
Most battery-powered smart feeders start losing capacity below -10°C and become unreliable below -20°C. If you're in Manitoba, northern Ontario, or anywhere that regularly sees -25°C winters, prioritize cameras with a wired power option or look for models rated to at least -20°C. Lithium batteries handle cold far better than alkaline or NiMH, so if a camera uses AA batteries, go lithium. Solar-powered cameras can work in Canadian winters but only if the panel gets direct sun for several hours daily, which is a real constraint from November through February at higher latitudes.
Wi-Fi range and connectivity
Almost every smart feeder camera uses 2.4GHz Wi-Fi, not 5GHz, which is actually better for range through walls and outdoor obstructions. Still, if your feeder is more than 25 to 30 metres from your router, or separated by a thick exterior wall, you'll get frequent disconnections. A Wi-Fi extender in a window or garage can solve this cheaply. For rural setups without reliable broadband, a cellular-connected trail camera is genuinely the better tool. More on that in the DIY section below.
Weatherproofing
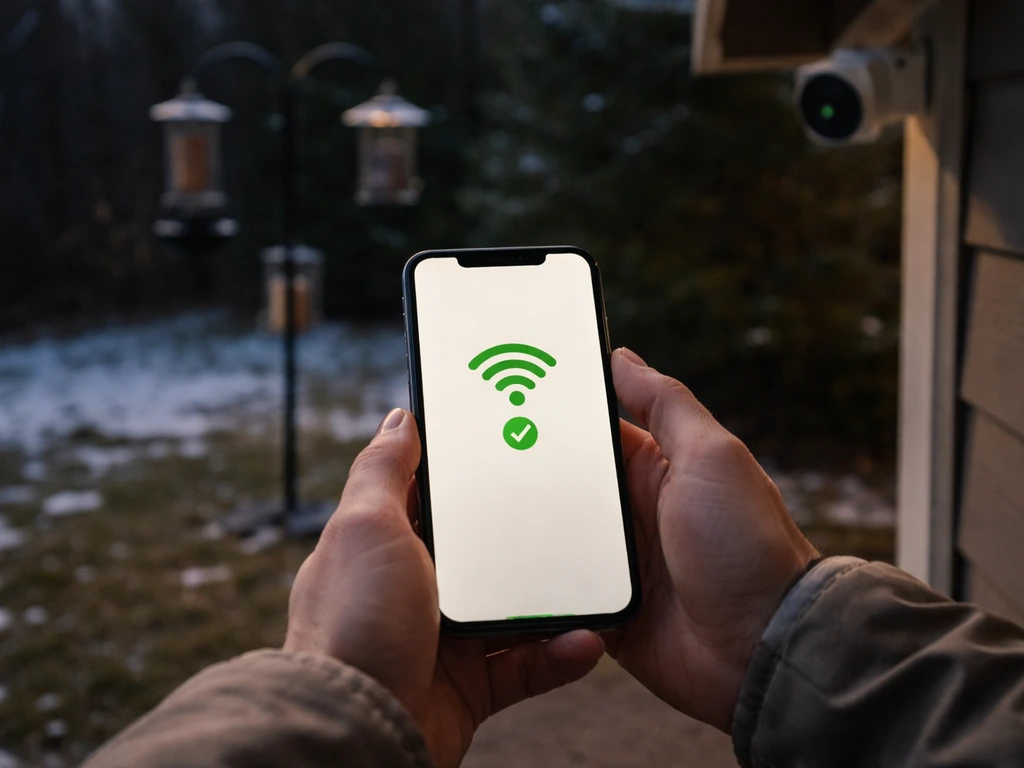
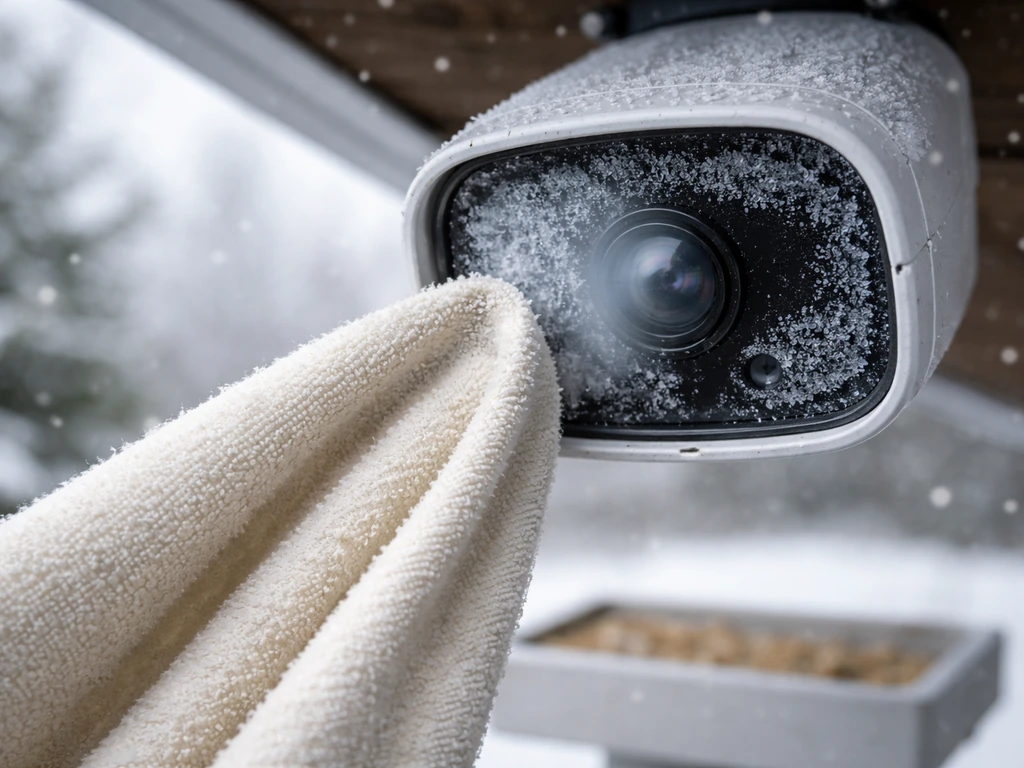
Look for an IP65 rating or better. That covers rain and snow splash but won't protect against a camera that collects standing water in the lens housing during a freeze-thaw cycle. Cameras mounted under a small roof overhang or feeder canopy last much longer than ones fully exposed to precipitation. Ice buildup on the lens is a real problem in late winter: a lens cloth and a quick wipe on mild mornings keeps image quality up.
App and support availability in Canada
Birdfy, Bird Buddy, and FeatherSnap all ship to Canada and their apps work without restriction. Some cheaper no-name smart feeders sold on Amazon Canada use apps that route video through overseas servers with poor uptime and no French-language support. Stick with established brands that have Canadian distribution or at minimum North American customer support.
Best bird feeder camera picks for Canadian yards
Here's how the main options stack up across the criteria that actually matter in a Canadian backyard. If you're comparing the top options, this guide to the best bird feeders in Canada will help you narrow down the right setup.
| Model | Best For | Resolution | Cold Rating | Power | AI Bird ID | Approx. CAD Price |
|---|---|---|---|---|---|---|
| Birdfy Feeder 2 | Best overall (suburban Wi-Fi) | 2K | -20°C | Battery / Solar | Yes (subscription) | $160–$200 |
| Bird Buddy 2 Mini | Best for audio + visual AI ID | 2K | -15°C | Battery | Yes (built-in) | $170–$210 |
| Birdfy Feeder Lite | Best budget smart feeder | 1080p | -15°C | Battery | Basic (subscription) | $100–$130 |
| Reolink Argus 3 Pro (add-on) | Best for existing feeders | 2K | -20°C | Battery / Solar | No (manual ID) | $90–$120 |
| Tactacam Reveal X-Pro (trail cam) | Best for rural / no Wi-Fi | 1080p | -30°C | AA lithium | No | $140–$180 |
| FeatherSnap Smart Feeder | Best for hummingbirds | 1080p | -10°C | Wired USB-C | Yes (in-app) | $120–$150 |
Best overall: Birdfy Feeder 2
The Birdfy Feeder 2 is the one I'd recommend to most Canadian backyard birders. It handles cold reasonably well, the 2K camera gives you enough resolution to separate similar-looking species like Downy and Hairy Woodpeckers, and the AI identification (subscription required) is genuinely useful for species like American Goldfinches, Black-capped Chickadees, Dark-eyed Juncos, and Northern Cardinals. The 20-second motion-triggered clips cover most feeder visits, and if you want longer recordings, Birdfy's Moment Video Recording cloud service extends clip length. The solar panel add-on is worth the extra cost in spring through fall, though for winter I'd keep a set of lithium AAs as backup.
Best for audio-assisted ID: Bird Buddy 2 Mini
Bird Buddy's 2026 Mini lineup introduced AI detection that uses both visual and audio cues, which is a real advantage for identifying birds that spend more time singing at the feeder edge than sitting under the camera. It's especially handy for warblers passing through in May and September, or for telling apart Finch species by their calls. The app is polished and works well on both iOS and Android. The main limitation is cold: below -15°C, battery life drops noticeably, so it's less ideal for an unheated garage or exposed pole in January.
Best budget pick: Birdfy Feeder Lite
If you want to try a smart feeder camera without a big investment, the Birdfy Feeder Lite gets you motion-triggered 1080p video and basic AI ID at roughly half the price of the Feeder 2. The image quality is good enough for common backyard species: Blue Jays, Mourning Doves, House Sparrows, and most woodpeckers are easy to identify. It won't do as well with small, fast birds like Pine Siskins or Common Redpolls in poor light.
Matching your camera to your birds
For large, slow-moving birds like Blue Jays, Northern Cardinals, and Mourning Doves, almost any camera with 1080p or better will get the job done. For smaller, faster birds like American Goldfinches, Pine Siskins, and warblers, 2K resolution and a wide dynamic range matter more, because the difference between similar species often comes down to fine details like wingbars or eye rings.
If you're targeting orioles at a jelly or nectar feeder, position matters as much as resolution: get the camera at the same height as the feeding port so you're not shooting up at the bird's belly. For hummingbirds, a dedicated hummingbird feeder camera like the FeatherSnap (which has a 10-foot motion detection range and 840nm IR for nighttime imaging) makes more sense than a general smart feeder. FeatherSnap's feeder manual also specifies a [10-foot motion detection range](https://www. feathersnapcam.
com/media/asset/FeatherSnap-Hummingbird-Feeder-User-Manual. pdf) for the camera system.
Where to mount the camera on different feeder types
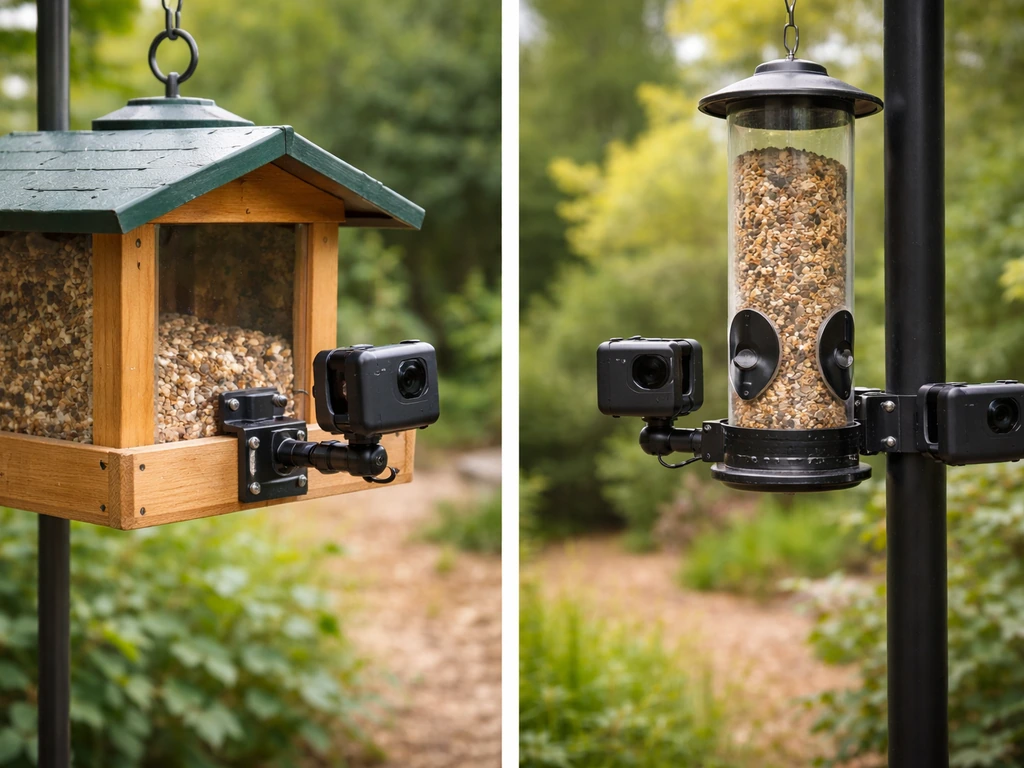
Mounting position makes or breaks image quality. The goal is a clear, close shot of the bird at the point where it actually feeds, with the camera at roughly the same height as the perch or feeding port, not above or below it.
- Hopper feeders: Mount the camera on a bracket at the side of the feeder, level with the tray or perch bar. A slight downward angle of 5 to 10 degrees helps catch birds on the tray without pointing the lens at the sky. Distance of 30 to 50 cm from the feeder gives a full-body shot of most songbirds.
- Tube feeders: Clamp or bracket the camera to the same pole, positioned so the lens faces the ports at perch level. Tube feeders are narrow so a slightly angled shot from the side captures birds better than a straight-on frontal view.
- Platform/tray feeders: Mount above and slightly to the side, angled down at 15 to 20 degrees. This gives a near top-down view that shows back and head markings clearly, useful for ID-ing sparrows and juncos.
- Suet feeders: Mount directly opposite the suet cage at the same height. Woodpeckers cling vertically, so a camera at the same height as the cage centre gets the best head and breast shot. Keep the camera 20 to 40 cm back.
- Window feeders: Suction-cup or clip-on cameras designed for window feeders (Bird Buddy's window version, for example) work best mounted on the opposite side of the feeder from the glass, so the bird is between the glass and the camera. Glare from the window is the main enemy here: an anti-glare film or positioning the feeder on a north-facing window reduces washout.
- Pole-mounted feeders: Use a side-arm bracket to hold the camera at the same height as the feeding ports, facing across the feeder rather than up into it. This keeps the sky out of the background and reduces exposure problems.
A practical rule that applies to every feeder type: keep the background in mind. A camera pointing east or west in the morning or afternoon will fight direct sun glare. A north-facing camera setup avoids direct sun entirely and gives the most consistent, even light throughout the day, which is exactly what you want for clean identification shots.
Setup tips for actually getting usable bird IDs
Lighting
Natural, indirect light is ideal. Avoid placing feeders where direct morning or afternoon sun hits the camera lens: the resulting overexposed frames make bird ID nearly impossible. If you can only use a south or east-facing position, a small roof over the feeder (most hopper feeders have one) can shade the lens enough to help. Cloud cover, which Canada has plenty of for much of the year, is actually great for feeder camera photography because it acts as a natural diffuser.
App and motion detection settings
When you first set up the camera, start with the motion detection sensitivity at medium. Too high and every branch sway will trigger a clip. Too low and you'll miss quick visits from small birds. Most apps let you draw a detection zone: narrow it to the feeder area only, excluding branches, bushes, or pathways that move in the wind. For Birdfy, the default 20-second clip with 2-minute cooldown is a reasonable starting point, but if your feeder is busy (common in winter when birds crowd feeders for warmth), consider enabling Moment Video Recording to extend clips and reduce missed visits.
Focus and distance
Most smart feeder cameras have a fixed focal length optimized for 30 to 60 cm. If your camera is too close, birds will appear blurry or cropped. Too far and you lose the detail needed for ID. Do a test run during setup: record a few clips, then review them on a full screen (not just a phone screen) to check that feather detail is actually visible at your chosen distance.
Night and low-light settings
If your camera has adjustable IR sensitivity, set it to auto. Most bird activity happens in daylight so the IR night mode is mainly useful for catching nocturnal visitors like owls, raccoons, or Flying Squirrels. FeatherSnap's hummingbird feeder camera uses an 840nm IR LED, which is at the edge of visible light and less disruptive to birds than shorter wavelengths. For general feeder cameras, IR footage is monochrome and not useful for plumage-based ID, so don't stress too much about night performance unless you specifically want to document who's raiding the feeder after dark.
Troubleshooting common problems
Too many false alerts
Wind-blown branches, falling leaves, and blowing snow are the main culprits in Canadian yards. Fix this by tightening the detection zone in the app so it only covers the feeder itself, not the surrounding area. Raising the motion detection threshold slightly also helps, though you may miss a few fast small birds at first. Repositioning the camera so it doesn't have a swaying branch in the background is the most permanent fix.
Blurry or dark footage
In overcast Canadian winters, cameras can underexpose. If your app has brightness or exposure compensation settings, nudge them up slightly. A white or light-coloured feeder tray also helps by reflecting light back up onto the bird. For motion blur from fast-moving birds like Chickadees or Goldfinches, you can't change the shutter speed on most fixed cameras, but mounting the camera slightly closer to the perch (rather than the port) means the bird is stationary while feeding rather than in mid-flight.
Squirrels and larger pests triggering the camera
Squirrels will absolutely trigger your motion detection constantly, and in Canada, so will raccoons, red squirrels, and the occasional Ruffed Grouse. The camera itself can't stop them from visiting, but tightening the detection zone to the upper feeder area (where birds land but squirrels approach from below) reduces the number of pest clips. If the feeder is on a pole, a squirrel baffle keeps them off the feeder and off the camera mount. This is also a good reminder to check that the camera is mounted above the squirrel access point, not below it.
Connectivity drops
Cold weather and distance are the two biggest causes of Wi-Fi dropouts. If your camera regularly goes offline in winter, first check whether the router itself is struggling: routers near cold exterior walls sometimes throttle their radio output. A Wi-Fi extender placed in a window facing the yard, or a mesh node in a garage, usually solves range issues. Also make sure the camera firmware is up to date, as manufacturers often release winter performance patches.
Lens fogging and ice
Rapid temperature changes, common in Canadian spring and fall, cause lens fogging. A quick wipe with a microfibre cloth when you refill the feeder keeps it clear. In deep winter, a thin film of ice can form on the lens overnight. Mounting the camera under a small canopy or eave dramatically reduces this. Never use hot water to de-ice a camera lens: the thermal shock can crack the housing seal.
Budget and DIY alternatives worth considering
A purpose-built smart feeder camera isn't the only way to watch your feeder. If you already have a decent feeder setup and don't want to replace it, a few alternatives work well in Canadian conditions.
Trail cameras
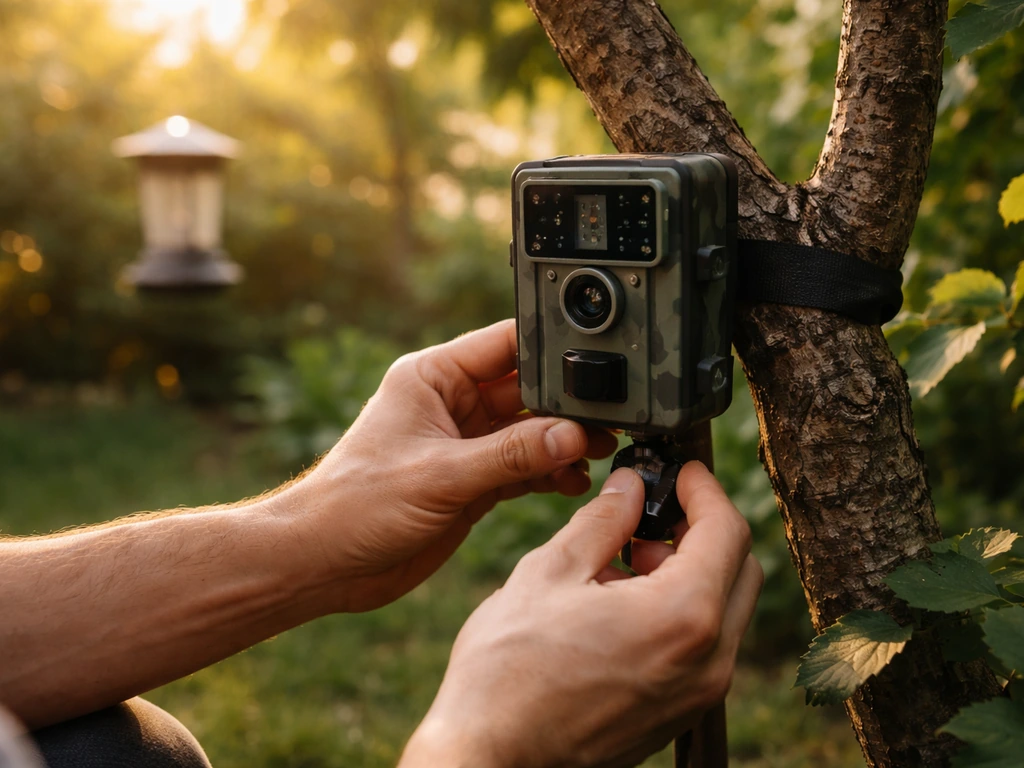
A trail camera strapped to a post or tree beside the feeder is one of the most reliable setups for Canadian winters, especially in rural areas without Wi-Fi. Models like the Tactacam Reveal X-Pro work down to -30°C, take AA lithium batteries (which hold charge in extreme cold far better than built-in lithium-ion packs), and many now offer cellular connectivity so you get clips sent directly to your phone without needing a home network. The trade-off is that most trail cameras don't have AI bird ID, so you'll be doing the identification yourself. For serious birders, that's often preferred. If you're weighing this option more carefully, a dedicated comparison of trail cameras for feeder setups is worth a look.
Add-on cameras for existing feeders
If you have a favourite hopper or platform feeder you don't want to replace, a compact outdoor security camera like the Reolink Argus 3 Pro mounted on the same pole works well. You get 2K video, solar charging, and decent cold-weather performance, without buying a new feeder. Set the motion detection zone to cover the feeder tray and you'll get clips as reliable as any purpose-built smart feeder.
You won't have AI bird ID in-app, but pairing the footage with a field guide or Merlin (from Cornell) gives you a solid ID workflow. This is also a good option if you have multiple feeder types in different spots: one camera can be repositioned seasonally more easily than a fixed smart feeder.
Webcam setups
For a window feeder or a feeder visible from inside, a USB webcam pointed through clean glass can work surprisingly well for daytime ID shots, especially if you run it through free software like OBS or iSpy that supports motion-triggered recording. If you want the best webcam bird feeder setup, focus on clear daytime footage, reliable motion capture, and a clean view through the glass. It's not elegant, but it's cheap and the image quality from a 1080p webcam at close range rivals many smart feeders. The obvious limitation is the window itself: smudges, reflections, and screen glare reduce clarity, and you're tethered to wherever you can run a USB cable.
Quick decision checklist before you buy
Before you pull the trigger, work through these questions to narrow down the right setup for your yard. If you want the best camera for watching bird feeder activity, focus on clear daytime footage, reliable detection, and built-in identification features if you prefer guided ID.
- Is your feeder within 25 metres of your Wi-Fi router? If yes, a smart feeder camera works well. If no, consider a trail cam with cellular, or add a Wi-Fi extender first.
- Do you want to keep your existing feeder or replace it? Keeping it: go with an add-on camera (Reolink Argus 3 Pro or similar). Replacing it: go with an integrated smart feeder (Birdfy Feeder 2 or Bird Buddy 2 Mini).
- What's your coldest expected winter temperature? Below -20°C regularly: choose a camera with a wired power option or use lithium AA batteries in a trail cam. Between -10°C and -20°C: a quality smart feeder with solar backup works fine most winters.
- Are you targeting specific bird species? Hummingbirds: FeatherSnap or a close-mounted dedicated camera. Small fast birds like Goldfinches and Siskins: prioritize 2K resolution and a tight mounting distance. Large birds like Blue Jays and Woodpeckers: 1080p is sufficient.
- Do you want AI identification or are you comfortable IDing birds yourself? AI ID (subscription): Birdfy or Bird Buddy 2 Mini. DIY ID from footage: any camera, including trail cams and add-on setups.
- Urban/suburban yard with reliable power and Wi-Fi: Birdfy Feeder 2 with solar add-on. Rural yard with limited connectivity: Tactacam Reveal X-Pro or similar cellular trail cam. Budget under $130 CAD: Birdfy Feeder Lite or a repurposed trail cam on a pole.
The honest bottom line: most Canadian backyard birders will be happy with the Birdfy Feeder 2 for a connected suburban setup, or a lithium-battery trail cam for anywhere more remote or colder. If you want a simple answer to whether are bird feeder cameras worth it, the biggest value is getting consistent photos and identifying common species without needing to review every visit yourself Birdfy Feeder 2. Get the mounting height and camera angle right before you fine-tune any app settings, because a well-positioned average camera beats a poorly positioned great one every time.
FAQ
Do I need a 4G or 5G signal for a bird feeder camera in Canada?
Only cellular models require mobile coverage. Wi-Fi smart feeders need good 2.4GHz signal at the feeder, while many trail cameras can be Wi-Fi or cellular depending on the plan. If you live in a rural area, pick a trail camera with cellular and confirm you can get coverage outdoors where the feeder is mounted (not just near your house).
What’s the best way to stop squirrels and raccoons from filling my clips?
Use two controls together: tighten the detection zone to the landing area (exclude the approach path), and mount the camera higher than the main access point. If your feeder is on a pole, add a squirrel baffle so the animal can’t reach the feeder height and trigger from below.
How far should I mount the camera from the feeder for reliable bird ID?
Most fixed-lens feeder cameras are meant for a close window, roughly 30 to 60 cm from the feeding port or perch area. Run a short test, then check clips on a full-size screen to confirm feather details like wingbars or eye rings are still sharp, not just “clear” on a phone thumbnail.
Will a bird feeder camera work in deep Canadian winter without losing power?
For exposed setups, avoid alkaline or NiMH batteries, and prioritize lithium AAs or a wired power option. If you must rely on solar, confirm the panel gets several hours of direct sun daily, because short winter daylight and low sun angles can lead to frequent low-battery shutdowns.
Can bird feeder cameras capture good footage at night in Canada?
Most feeder cameras can only produce useful night footage if they have infrared or low-light capability, and even then it is often better for confirming visitors (like raccoons or owls) than for plumage-based identification. If night ID matters to you, consider a dedicated hummingbird camera or explicitly choose a model with suitable near-IR specs and test it after dark.
Do I need 5GHz Wi-Fi for better performance outdoors?
Usually no. Most feeder cameras use 2.4GHz, which generally travels farther through walls and obstructions. If you see frequent disconnects beyond about 25 to 30 metres, use a window/garage extender or a mesh node, rather than switching to 5GHz.
Why does my camera trigger when no birds are feeding?
The most common causes are wind-blown branches, snow movement, and incorrect detection zones. Start by setting sensitivity to medium, then use an app-drawn detection area that covers only the feeder zone. Also reposition the camera to avoid capturing swaying background branches.
How do I handle lens fogging and ice buildup during winter in Canada?
After refilling, wipe the lens with a microfiber cloth to remove moisture that contributes to fogging. To reduce overnight ice, mount under an eave or small canopy, and avoid using hot water to de-ice because thermal shock can crack seals and damage weatherproofing.
Are AI bird IDs reliable for juveniles and partially blocked views?
They are helpful, but not definitive. Expect lower accuracy for juveniles, birds partly hidden by feeder parts, or fast arrivals that trigger during motion. Treat IDs as suggestions and use recordings to verify with a field guide if the photo is not clear.
Which resolution matters most for small fast birds like finches or warblers?
For quick species, prioritize 2K footage and good dynamic range over just “1080p or better.” The small differences between similar species often depend on fine details like wingbars or eye rings, which can disappear in underexposed or blurred clips.
Is an alternative like a trail camera better than a smart feeder camera?
It can be. Trail cameras are often more reliable in severe cold, can support cellular delivery in areas without home Wi-Fi, and typically cost less. The trade-off is no built-in AI bird ID, so you will identify birds from clips yourself.
What’s the easiest setup mistake to avoid for feeder camera placement?
Angle and height. Mount at roughly the same height as the feeding port or perch, so you are not shooting up at a bird’s belly or getting the bird cropped. Also consider sun direction, a north-facing or shaded setup usually produces more consistent light for identification photos.
Next Articles
Best Bird Feeder for Baltimore Orioles: Buyer Guide
Choose the best bird feeder for Baltimore orioles: styles, features, placement tips, and fixes for heat, pests, and acce
What Does a Bird Feeder Look Like? Types and Visual Cues
See common bird feeder silhouettes and visual cues, plus features for choosing and troubleshooting fast.
Best Oriole Bird Feeders: Buying, Setup, and Tips
Choose the best orioles feeders and set up jelly or nectar for backyard success, with pest-proofing and troubleshooting.